From 2D Plans to 3D Reality: The Model-Making Process
Walk through how Moriasi3D transforms your architectural drawings into tangible 3D models that stakeholders can touch and understand.
See everything Moriasi3D Models can do for you.
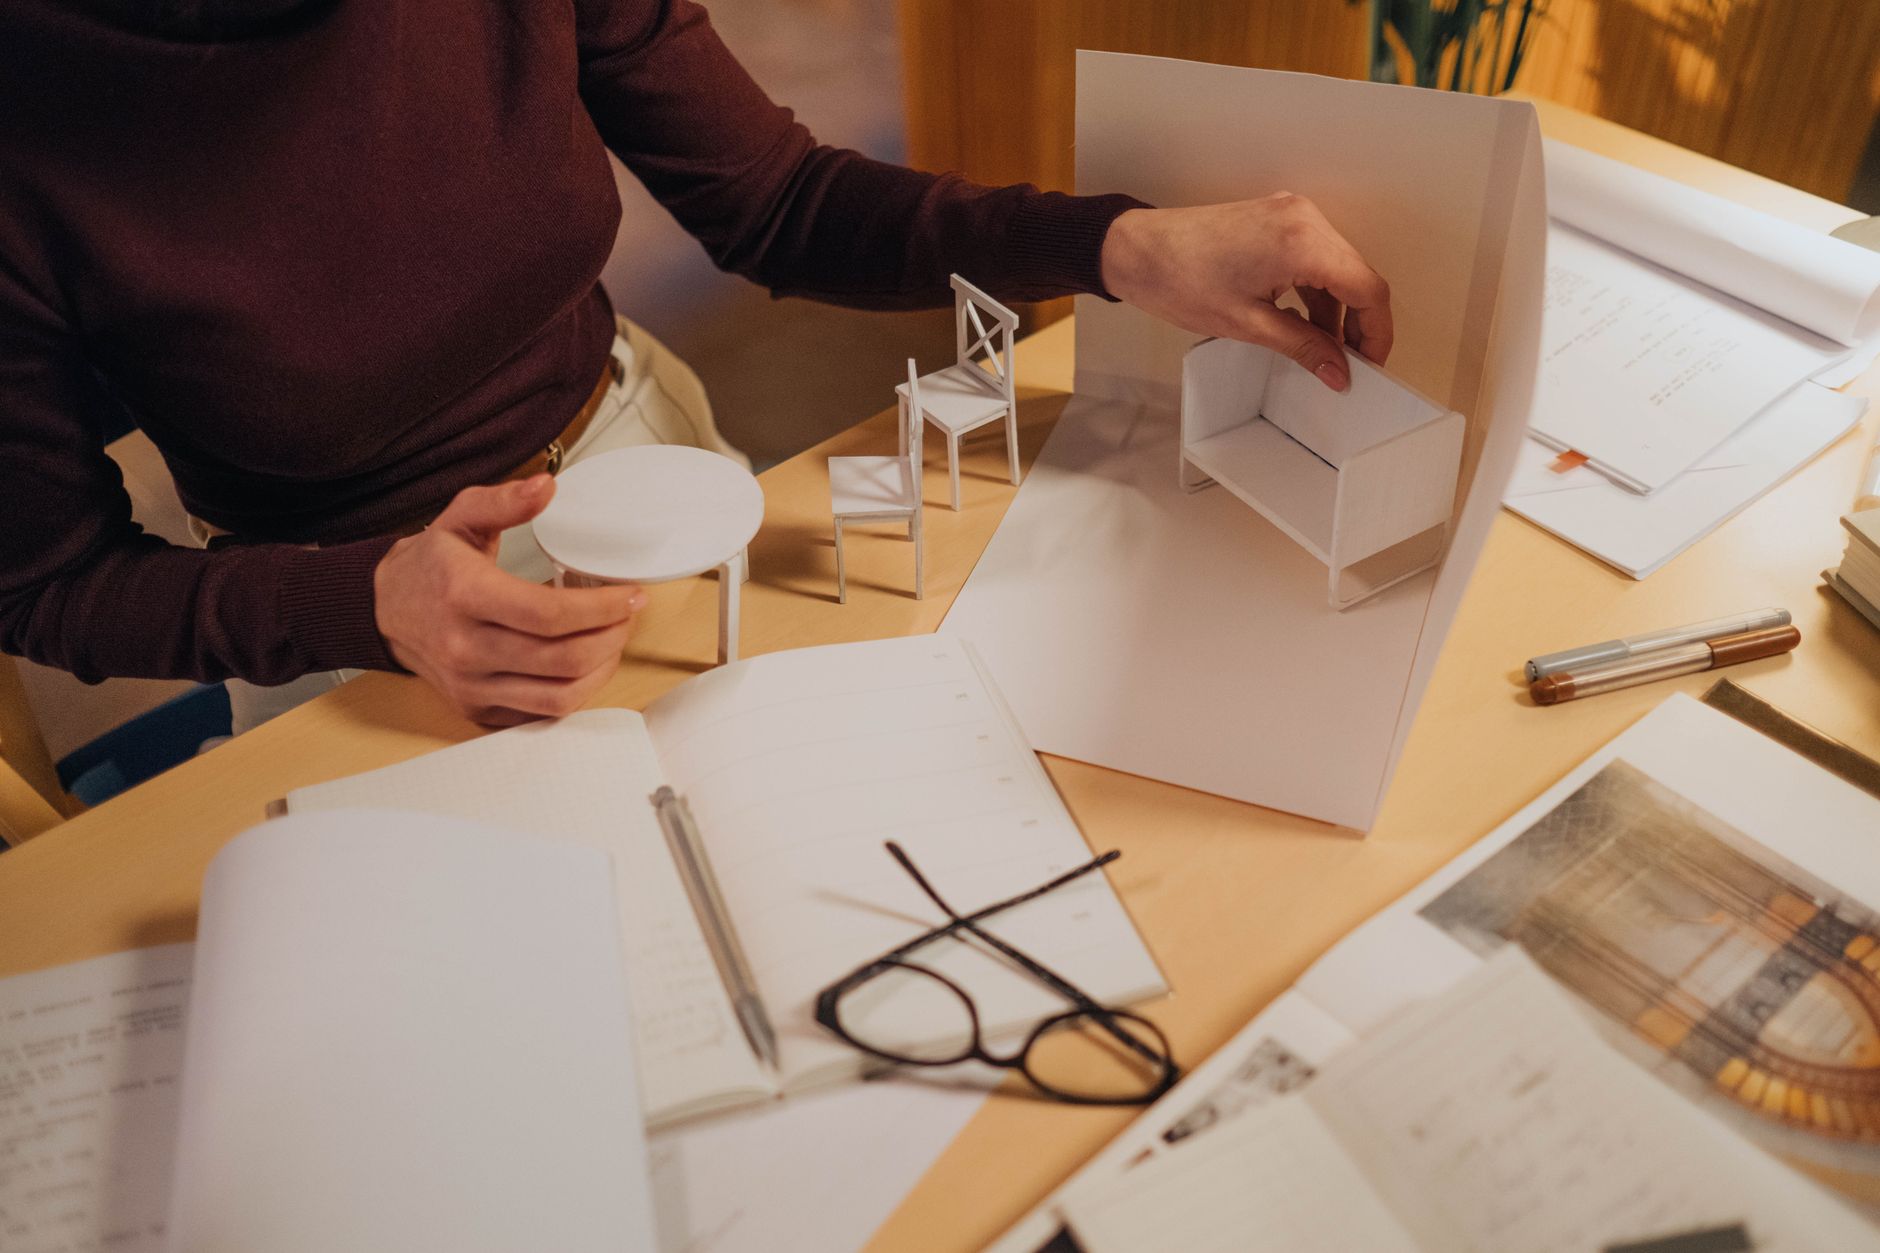
When a set of drawings leaves an architect's desk, it carries tremendous amounts of information that even trained eyes can struggle to interpret at a glance. A physical architectural model bridges that gap instantly, turning floor plans, elevations, and site layouts into something anyone in the room can understand and respond to. At Moriasi3D Models, we have spent years refining the process that takes your 2D documentation and produces a detailed, accurate three-dimensional representation of your project. This post walks you through every stage of that process so you know exactly what to expect when you bring a project to our studio on Mucai Road.
This article is part of our complete guide: Architectural Models for Houses.
Why Architects Send Plans to Us Instead of Building Alone
Most architecture firms in Nairobi are structured around design thinking, client management, and drawing production. Detailed hand craftsmanship of a physical model is a separate discipline entirely, and attempting it in-house often pulls senior staff away from billable design work for days at a time. By handing the model-making work to us, your team stays focused on what it does best while we handle the painstaking cutting, assembly, and finishing. The time savings on a mid-sized residential scheme can easily run to a full working week for your staff.
Beyond time, there is the question of equipment and consumables. Precision cutting tools, specialist adhesives, architectural foams, acrylic sheets, and fine-scale landscaping materials are not items most firms keep in stock, because the investment only makes sense when you are building models constantly. We maintain a well-stocked studio specifically because model making is our entire focus, not a side task. Clients across East Africa have found it far more economical to use our setup than to source these materials project by project.
There is also a less obvious benefit that our clients consistently mention: catching design issues early. When we translate a plan into a physical form, spatial conflicts, awkward proportions, or unclear circulation patterns sometimes become visible for the first time. We flag these observations to you before the model is finished, giving you a low-cost opportunity to revisit the drawings. That kind of early feedback has saved several of our clients from expensive revisions later in the construction process.
Step 1: Understanding Your Drawings and Project Scope
The first thing we do when a new project arrives is sit down with your full drawing set, which typically includes floor plans for each level, all four elevations, a roof plan, and a site layout. We read these drawings carefully, cross-referencing dimensions and noting any areas where the drawings need clarification before we can build accurately. If your documentation includes rendered perspectives or 3D views, those are useful reference points for how you intend the finished design to read visually.
Once we have reviewed the drawings, we ask a focused set of questions about scale, material representation, and any special features the model must capture. Scale is particularly important because it determines how much fine detail is physically achievable and which materials are appropriate for each element. We also ask about any features that are important to emphasise for a specific audience, such as a rooftop terrace for a hospitality client or a ground-floor retail activation for an urban development presentation. Getting these answers early prevents rework later.
Finally, we agree on a realistic timeline based on the complexity and physical size of the project. A compact residential model at a standard presentation scale can move through our studio in one to two weeks. A large mixed-use masterplan with landscaping and surrounding street context will take considerably longer, and we plan that schedule honestly with you from the start. Clear timelines protect both your presentation deadlines and our workshop's capacity planning.
Step 2: Material Selection and Scale Planning
Choosing the right base materials is not a stylistic decision so much as a structural and practical one. For the primary building mass, we typically work with high-density foam board, acrylic sheet, or basswood, depending on the level of detail required and how the model will be used. A model that will be handled frequently by clients or displayed for months needs materials with good durability, while a quick internal design review model can be lighter and faster to produce.
Scale has a direct influence on which materials perform well. At a large scale such as 1:50, fine woodwork and laser-cut acrylic can represent window mullions, balustrades, and cladding joints with satisfying accuracy. At a smaller scale like 1:500 for a masterplan, those same details would be invisible, so we shift to materials and techniques that communicate massing and landscape rather than surface texture. Understanding this relationship between scale and material is something that comes from experience rather than theory.
We also work closely with you on finishes and colour choices to make sure the model matches your design intent and works for your specific presentation context. Some clients prefer a clean all-white massing model that keeps the focus on form and space. Others need realistic material finishes, including representations of brick, glass, concrete, or timber cladding. We discuss these options early in the process so that material costs and production time are built into your quote from the beginning.
Step 3: Building the Core Structure and Details
With materials confirmed and plans fully understood, we begin cutting and assembling the main building form. Precision is the priority at this stage, because errors in the core structure compound as you add detail on top. We use measured cutting guided directly by your scaled drawings, checking each component against the plans before it is glued into position. The goal is a structure that is dimensionally accurate and stable enough to support all the detail work that follows.
Once the primary building envelope is solid and true, we begin adding the architectural details that give the model its character. Balconies, courtyard walls, entrance canopies, pergolas, and window reveals are built individually and fitted into position. These elements are often the parts of the model that generate the most conversation in a client presentation, because they are where the design's personality becomes visible. We take the time to get them right rather than treating them as afterthoughts.
The final stage of the build phase brings in the surrounding context, including landscaping, roads, and neighbouring structures where relevant. A building does not exist in isolation, and a good architectural model shows how it sits within its environment. We use fine-scale ground cover, trees scaled to the model, and paved surfaces to create a setting that helps viewers understand the project's relationship to its site. For projects in Nairobi, accurately representing the local streetscape context often makes a meaningful difference to how regulators and funders read the model.
Step 4: Finishing and Quality Checks
With the structure and details assembled, the finishing stage begins, and this is where a model moves from looking constructed to looking considered. We apply paints and textured finishes carefully, using techniques that read well under presentation lighting and in photographs. Glass surfaces are treated to simulate reflectivity, planted areas receive layered ground textures, and any cladding finishes are rendered to give a sense of the intended material palette.
Before we call a model complete, we run through a structured quality check that covers joints, alignment, and overall stability. Every glued joint is tested for strength, and the model is checked from multiple angles to confirm that walls are plumb, floors are level, and the overall geometry matches your drawings. Small adjustments at this stage are far easier than corrections after delivery. This internal review is something we carry out on every model regardless of size or budget.
The last step before the model leaves our studio is a walkthrough with you or your representative. We go through the model together, pointing out how each section was built and inviting your feedback before we hand it over. If there are any minor amendments you want made at this stage, we address them while you are present. This final review gives you full confidence that the model represents your project accurately and is ready for its purpose.
Delivery and Using Your Model Effectively
A well-made architectural model is a presentation tool, and using it effectively requires a little thought about how you stage it for different audiences. When presenting to clients, position the model at a height where viewers can look across it at eye level rather than down onto it from above, as this perspective gives a much stronger sense of scale and space. For funders or planning regulators, consider pairing the model with a brief printed key that labels key elements, so that non-architects can follow the design confidently.
Storage and handling deserve more attention than they often receive once the presentation is done. Architectural models are durable, but they are not indestructible, and dust, humidity, and rough handling are the most common causes of damage. We recommend storing the model in a rigid covered box when it is not on display, and avoiding direct sunlight, which can fade painted finishes and cause some materials to warp over time. A model that is properly cared for can remain in excellent condition for years and continue to represent your project at future meetings.
As your design evolves through planning, value engineering, or client feedback, you may find that the model needs to be updated to reflect significant changes. We are happy to take a model back into the studio for revisions, whether that means altering a facade, adjusting the massing of one block, or updating the landscaping. Commissioning targeted updates is usually far more cost-effective than starting from scratch, and it keeps your presentation materials aligned with the current state of your design. You can learn more about the range of projects we support at our services.
A physical architectural model remains one of the most powerful communication tools in the industry, precisely because it does what drawings and digital renders cannot: it lets people reach out and understand space without any training or interpretation. The process we have described above is the same one we follow for every project that comes through our Nairobi studio, from a single residential dwelling to a large masterplan. If you have a set of drawings ready and a presentation coming up, we would be glad to talk through what the right model for your project looks like.
See everything Moriasi3D Models can do for you.
Visit Moriasi3D Models →